Self Service Returns
Our Self Service returns package enables your customers to initiate returns themselves. We will detail the setup guide below:
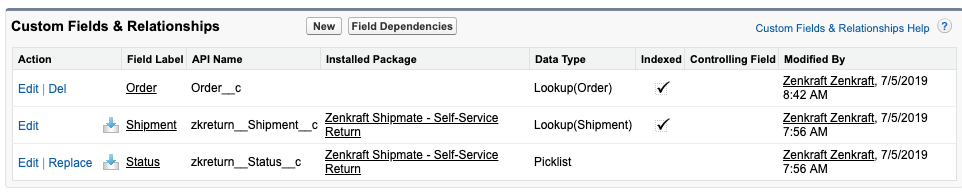
Create the Lookup from Return Object to the Order/Custom Order
Go to Setup > Create > Objects and click on the Return object.
Find the Custom Fields & Relationships related list and click on the New button to create the lookup to the Order object.
Once done it should look like this:
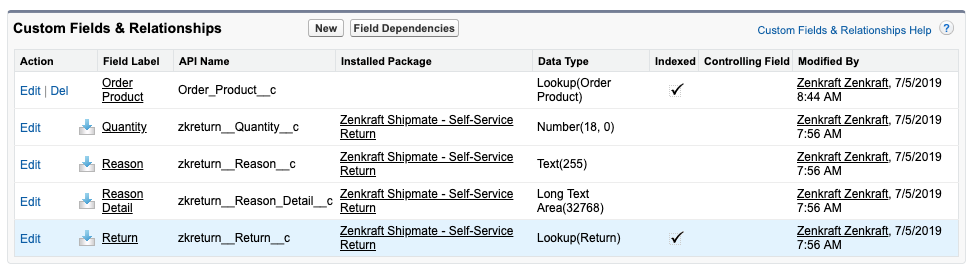
Step 2: Create the Lookup from Return Item Object to the Order Product/Custom Order Product
Repeat step 1 but this time create the lookup from the Return Line object to the Order Product object. Once done it should look like this:
Settings: Order Mapping
Next, click on the Self Service Returns Settings to start setting up the mappings.
If you are using the standard Salesforce Order objects then your settings should end up looking very similar to the above screenshot.
The next step is to map these fields:
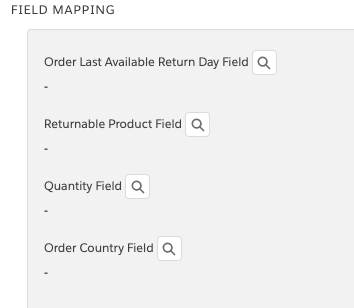
Order Last Available Return Day Field = If you want to set a date limit for when the last time to initial a return is for this product. For example 30 days from the the date the order was made.
Returnable Product Field = This needs to be a checkbox field, to say whether this item is eligible for return. For example perishable goods aren't usually returnable.
Quantity Field = This field specifies the number of items in the order for this line item that can be returned.
Order Country Field = This field is required if you are an international seller and you want to display different options for returns within different countries.
Settings: Wizard tab
Next you have the Wizard tab that you can configure:
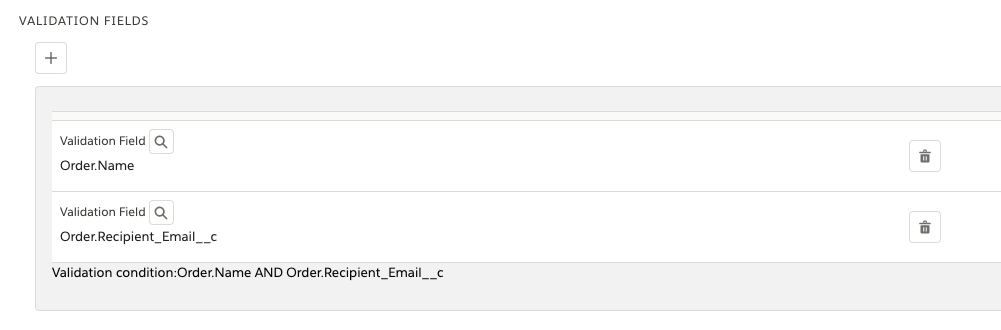
The first section is the Validation Fields that you would like to use for users to search for their order to be able to initiate the return.
You can use any fields you like and the user needs to correctly enter these in the order process to be able to continue.
We recommend using the Order ID and Email Address like so:
The Field Mapping section allows you to specify the error messages the users will receive.
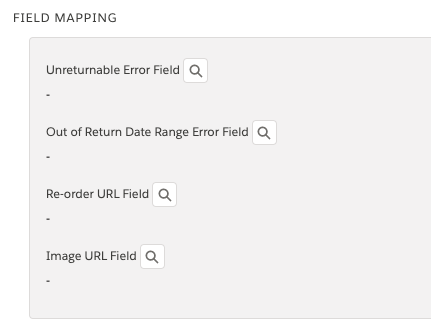
Unreturnable Error Field = This is linked to the Order Mapping section and the field Returnable Product Field. The example text could be "We are sorry, but perishable goods are not eligible for return."
Out of Return Date Range Error Field = This is linked to the Order Mapping section and the field Returnable Product Field. The example text could be "We apologize, but you have tried to return an item more than 30 days after ordering."
Re-order URL field = If you would like to allow your users to go back to this product to re-order this item then you can add this here.
Image URL field = Use this field to specify the image URL of the product so that your users can get a visual representation of the item they are returning.
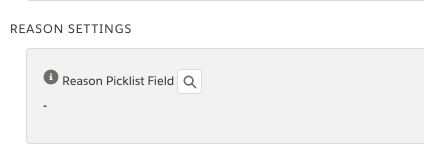
Finally we have the Reason Settings which allows you to set a field that determines which picklists (dependent or standard), to show to your users to collect the data on why the item needs to be returned.
You should create your picklists on your Product object. Create as many simple or dependent picklists as you want on this object. For example if you have shoes, create a picklist for shoes, or if you have clothes create a picklist for clothes.
The next step is to create a formula field so that you can determine which picklist should be shown depending on the product. Here is an example formula we are going to use:
IF(TEXT(Family)='Shoes','Shoes_Reason_Picklist__c',IF(TEXT(Family)='Clothes','Clothes_Reason_Picklist__c','Default_Reason_Picklist__c'))
Reference this formula field in the above Reason Picklist Field.
Finally you can set your Google API key to use if you want to show the nearest drop off locations to your users once they have created the return label.

Region and Return option Settings
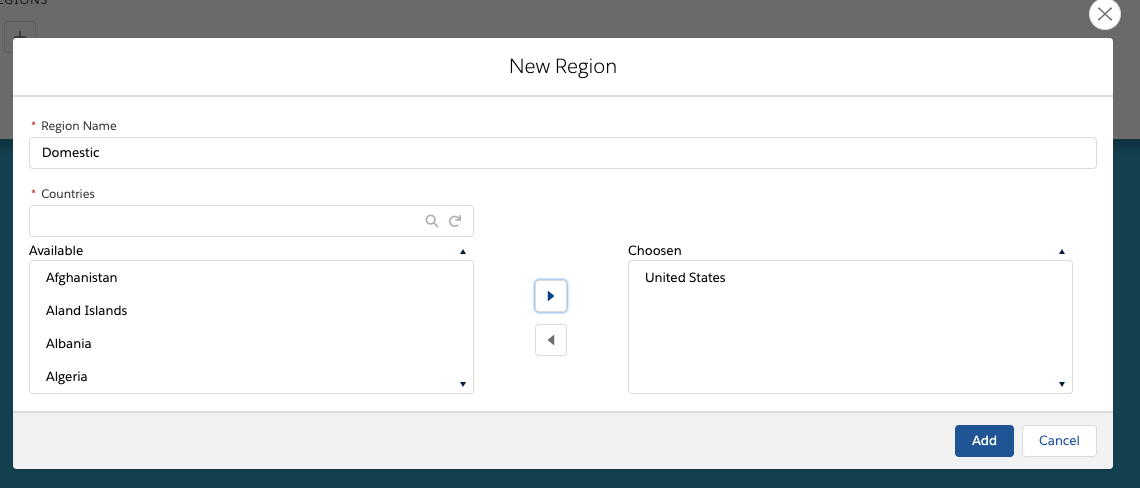
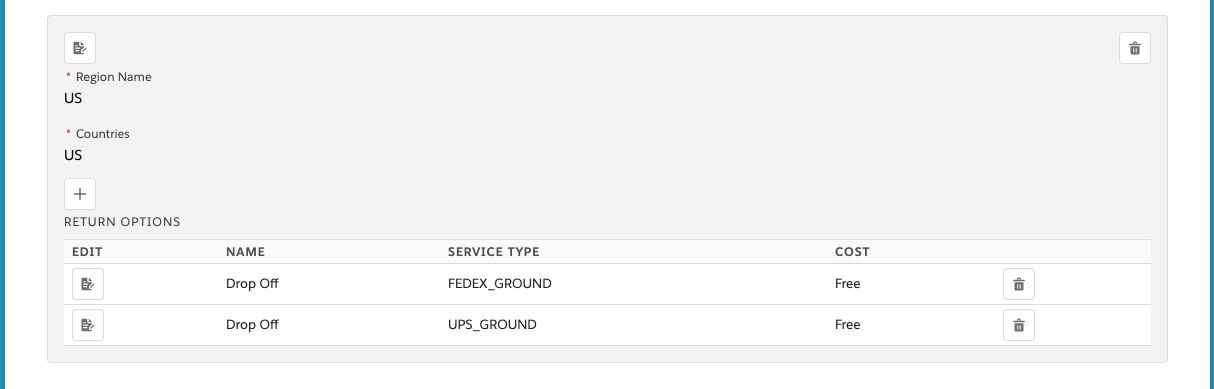
Now we come to the actual return options. If you are an international shipper this is where you can set they return options for the different countries.
If you are a domestic only shipper then you just need to set this up for the country you are in:
Next you can select the Return Option.
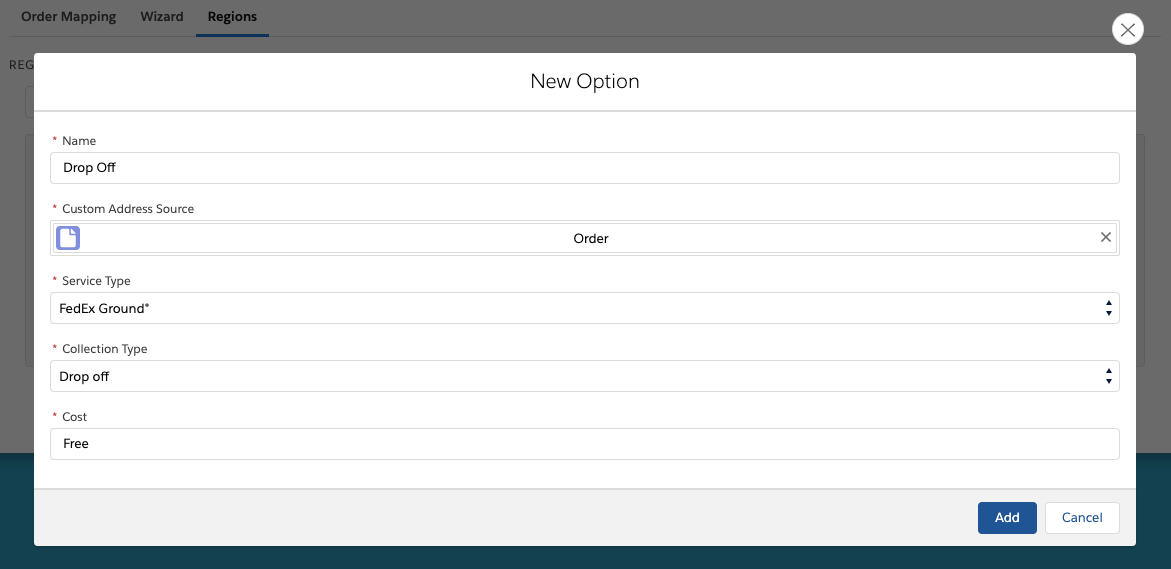
For Each return option you need to create a Custom Address Source that you can then reference on the second line of the above screenshot.
This is needed so that we know which Preference to use and which address details need to be associated with the return.
When you create your Custom Address Source, make sure you create the lookup from the Shipment object on your Order (in our case) object.
Add as many return options as you need.
As you can se here we have two drop off options, one with FedEx, and one with UPS.
Add a Site
You next need to set up your Site. Go to Setup > Develop > Sites and create a new Site.
There are three important sections as you can see highlighted here:
Default Web Address: This is where you set the URL that you will need to use for your iFrame later on.
Active Site Homepage: Set this as ReturnProducts
Clickjack Protection Level: Set this as shown above
Next you need to set up the Public Access Settings.
This user needs to have access to the following objects:
Custom Address Source
Shipments
Preferences
Returns
Return Items
Return Options
Return Region Settings
Return Settings
Or you could assign the user the permissions set called "Self Service Returns" whichever is preferable for you.
Next click on View Users.
And you will now be able to add the Permission Set I spoke of above but also add the Multi Carrier and Self Service Returns Managed Packages:
You are now all set up and ready to test.
Add your Site to an iframe on your site
Once fully tested you can now add an iframe to your website where you want your users to create their returns.
Here is an example of the iframe code you can add to your website:
<iframe src="https://" style="border:0px #ffffff none;" name="self-service-returns" scrolling="yes" frameborder="0" marginheight="0px" marginwidth="0px" height="400px" width="600px" allowfullscreen></iframe>
Make sure you change the items in bold to suite your webpage in terms of height and width, and make sure that you enter your Self Service Returns URL correctly.
Test
You are now ready to test this works. Simply activate your site and then open up your site URL and you will then be able to test the functionality.
If you come across any issues please contact us and we will be glad to help.