Outbound with Return Shipments
With version 1.42 and above its possible to create outbound and return shipments from the same wizard screen, and via invocable methods.
Using the Wizard
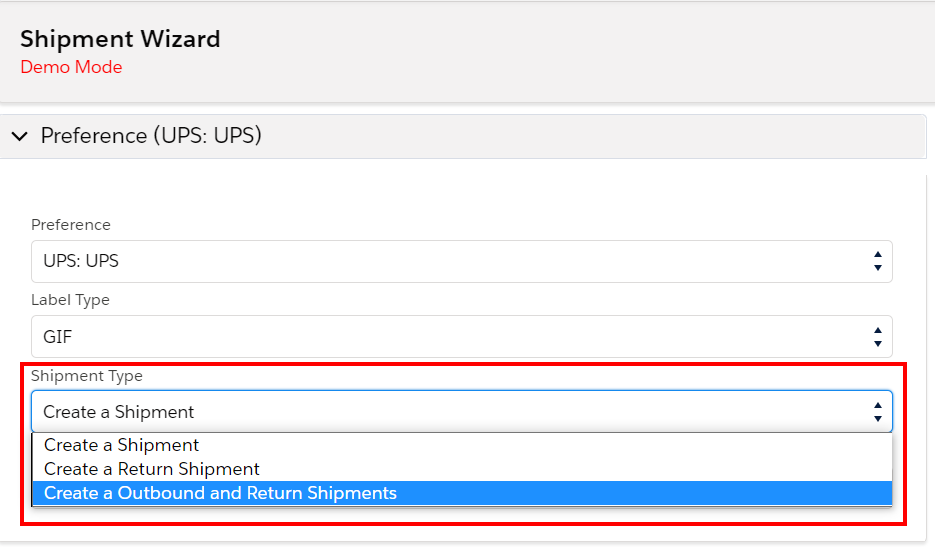
You can dive straight in and create an outbound and return shipment by going to Shipments and clicking the new button, and selecting "Shipment Type" = "Outbound and Return" under the Preference section.
You now have two tabs at the top of the page, one for outbound and another for return.
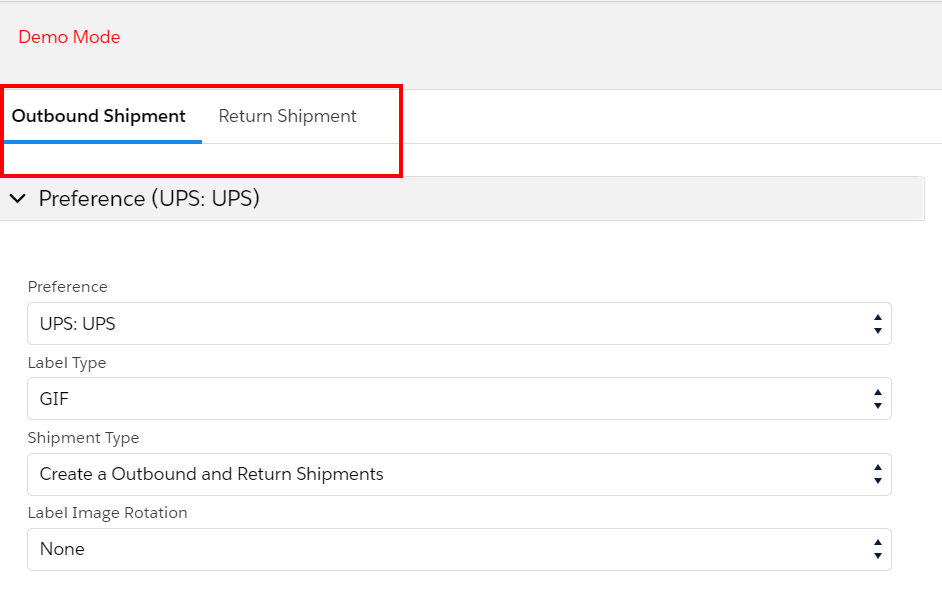
You are now able to fill in each section manually for your outbound and return shipment.
Using the Wizard with the Custom Address Source
The much quicker way to do this is to use the Custom Address Source to pre-populate the information for all sections on both tabs.
You need to set up two Custom Address Sources - one for your outbound shipment and one for your return shipment.
Create your Outbound CAS and then just clone it to create the Return CAS, unless you need to map different details in your return shipment from your outbound. In that case you'll to create the return CAS separately.
Once the two Custom Address Sources are created, on your Return CAS set a static value of RETURN for the Shipment Type.

Then on your Outbound Custom Address Sources modify the Wizard Mode to be Outbound and Return and map the Return CAS under it.
Setting up the Lookup Relationships
You will not need to create two separate lookup relationships from the Shipment object to your object of choice - you can simply use one lookup and set the Origin Custom Address Source ID.
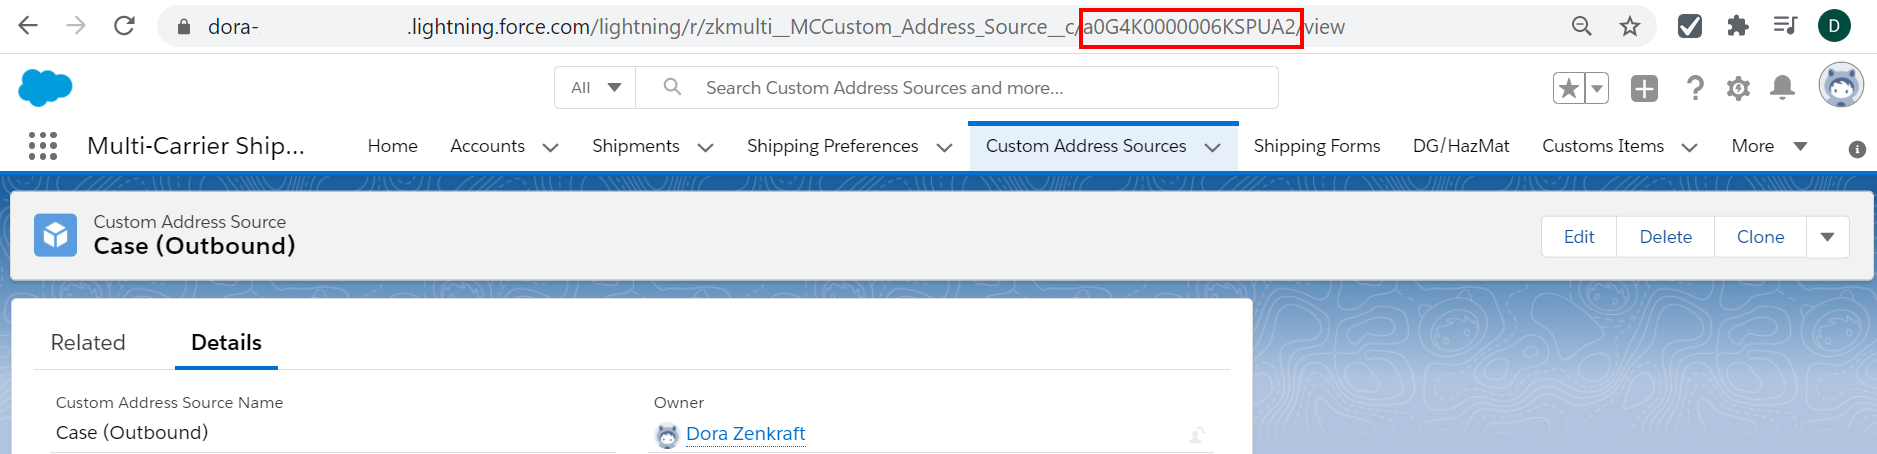
Open your Outbound Custom Address Source and copy the Salesforce ID from the URL.
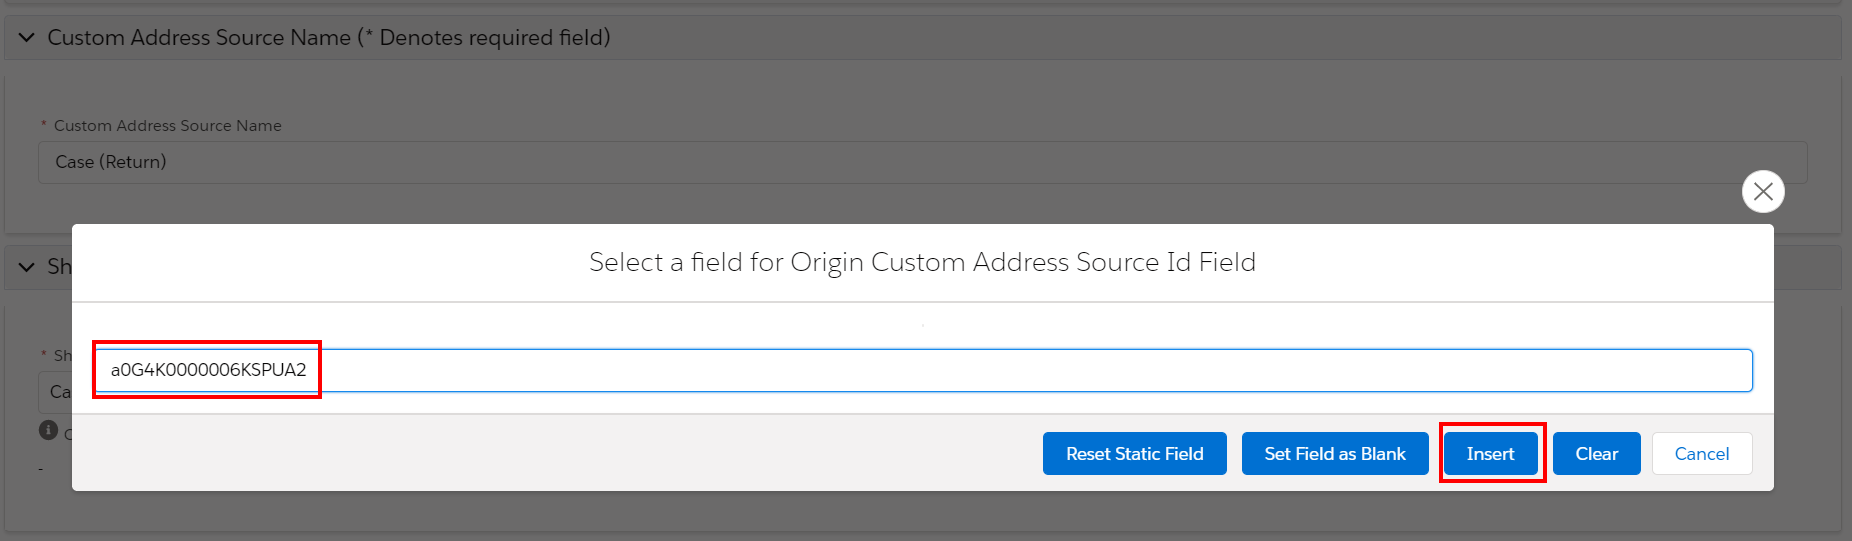
Open your Return Custom Address Source and go to Edit mode. Scroll down to the Shipment Object Lookup Field section and click on the magnifying glass by the Origin Custom Address Source Id Field.
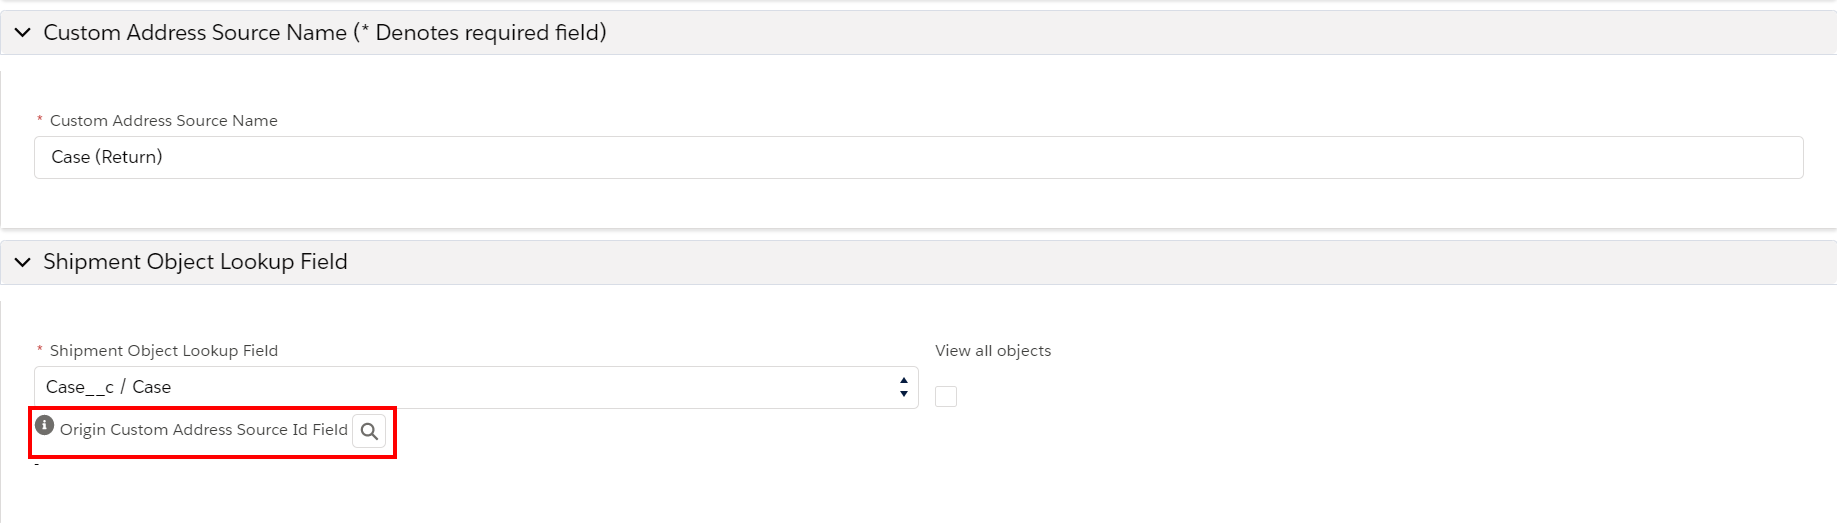
Insert the Salesforce ID of the Outbound CAS you previously copied as a static field.
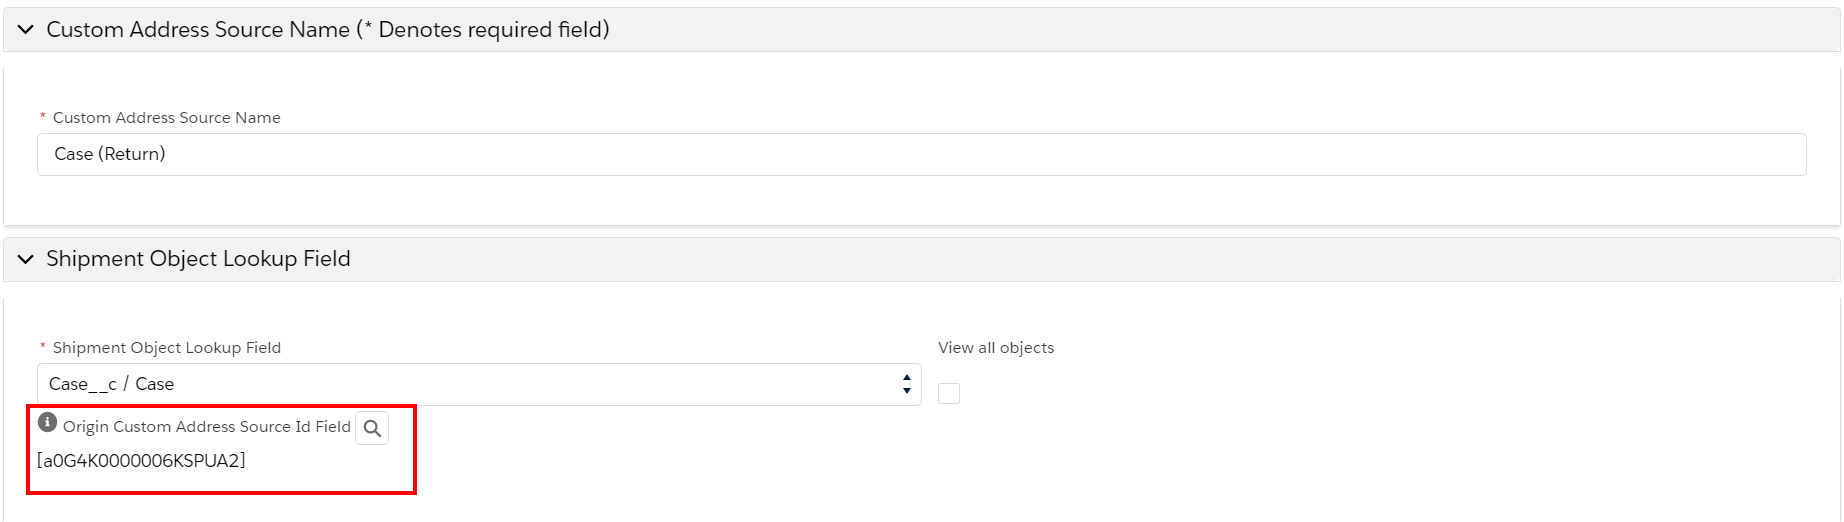
Save your changes.
Now you should be able to successfully test from your custom/standard object and see that all fields have been populated. Go to your object that you set this up on, navigate to the Shipments related list, and click New to open up your Outbound and Return wizard!